
Evergreen material is a great entry point to video content that you can start at any time. It is timeless content, which is great from a reuse and repurposing perspective, but also when you’re getting started, you don’t want to produce videos that will be out of date within a matter of weeks. The early days of video marketing are ones where businesses and brands are getting a feel for how the medium and process of making it works for them, and it’s handy to be able to do that whilst creating content that you’ll be able to get a lot of mileage from.
So… how can you create an evergreen educational video for your business?
1. Pick a topic
Before you can start work on creating a video, you need to know what it is going to be about. This helps you to make something with a clear message that calls out to your audience without losing focus.
A good place to start is to think about what questions are people asking in relation to your industry. If you don’t know any off of the top of your head, sites such as Answer The Public are a great place to start. They collate the most commonly searched questions connected to whatever keywords you input, which you can export and save as a point of reference whenever you’re in need of inspiration for future content.
2. Research your chosen topic and write a script
Not all video content requires a script – in fact, some forms are better when they are formed completely off-the-cuff. However, in this instance, a good script will form the basis of your video, ensuring that it remains focused on the information your audience is after, and delivers it in a concise manner.
A smart tip to bear in mind is to always keep the scripts to your videos handy. They will save you a lot of time and effort should you decide to add captions to your video, but with a little bit of formatting, it is super easy to transform a script into a blog post as well, meaning you get double the amount of content you initially set out to create with relatively little extra work.
3. Pick a location and start filming
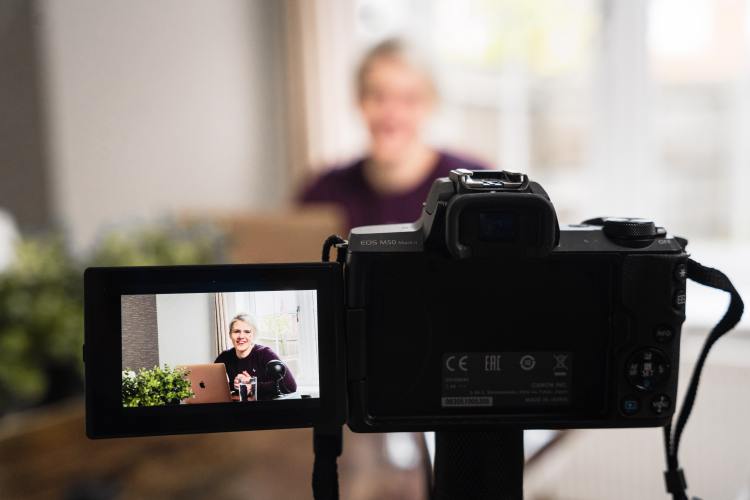
Another great advantage of evergreen videos is that they are very simple to shoot. The absolute minimum you have to do is set up in a nice spot in your office or workspace that is clear of distractions and not subject to too much noise. It’s beneficial to have a tidy space around you too, and this will prevent your viewers from having their attention drawn away from you, the subject of your video.
With your filming spot picked out and ready to go, just set up your camera (this could be an actual camera, but there is absolutely nothing wrong with filming on your mobile phone given the high-quality, 4K recording capabilities many are equipped with today) and start filming! Work your way through your script in your own time, and don’t worry if you need a few takes to get through the whole thing – like with anything, it will become more natural the more you practise it.
4. Edit your video
If you can believe it, filming a video is the easy part for most people. Post-production can be a more time-consuming process, but in it’s most basic form, all you’ll need to do to edit your video is to trim out everything but the best takes of your script so that what you’re left with is a clean, concise run-through of your message.
As far as software is concerned, there are a lot of options available, with free programmes such as Movie Maker and iMovie that come built-in to a lot of desktop devices, all the way up to professional-grade software such as Adobe Premiere Pro and the rest of the Creative Cloud suite. Choosing the right video editing software is a whole other topic in itself, but a good rule of thumb is simply find what works for you. Make things as easy on yourself as possible whilst you’re getting started as it will mean you’re more likely to form a habit that you will stick too. Once you have that baseline established, then you can start to explore other, more advanced avenues.
5. Add your finishing touches
Once you have the main body of your video pieced together, there are just a couple of other things you need to do for a more professional finish. These don’t need to be massive, especially if you’re putting the whole project together yourself, but little things like adding your branding to the video, and placing a music bed underneath will elevate it massively.
6. Publishing and promoting your video
With your video now ready, it’s time to show it to the world! This is a good time to revert back to the stage in the first step of this process where you identified who you’re making your video for, as this will help you to choose the first place where you should publish it. Remember – it’s important to post and share your content where your audience will see it, so make sure you’re in-tune with their online habits.
It’s not a bad idea to have your video feature somewhere on your website as well, perhaps embedded in a blog post on a related topic. This is great from an SEO perspective, as video helps to keep people on web pages for longer, so will be really beneficial to your website when it comes to search engines.